
Wildberries Paper Flowers: A Mini Christmas Magic in a Box
add_circle الإيجابيات
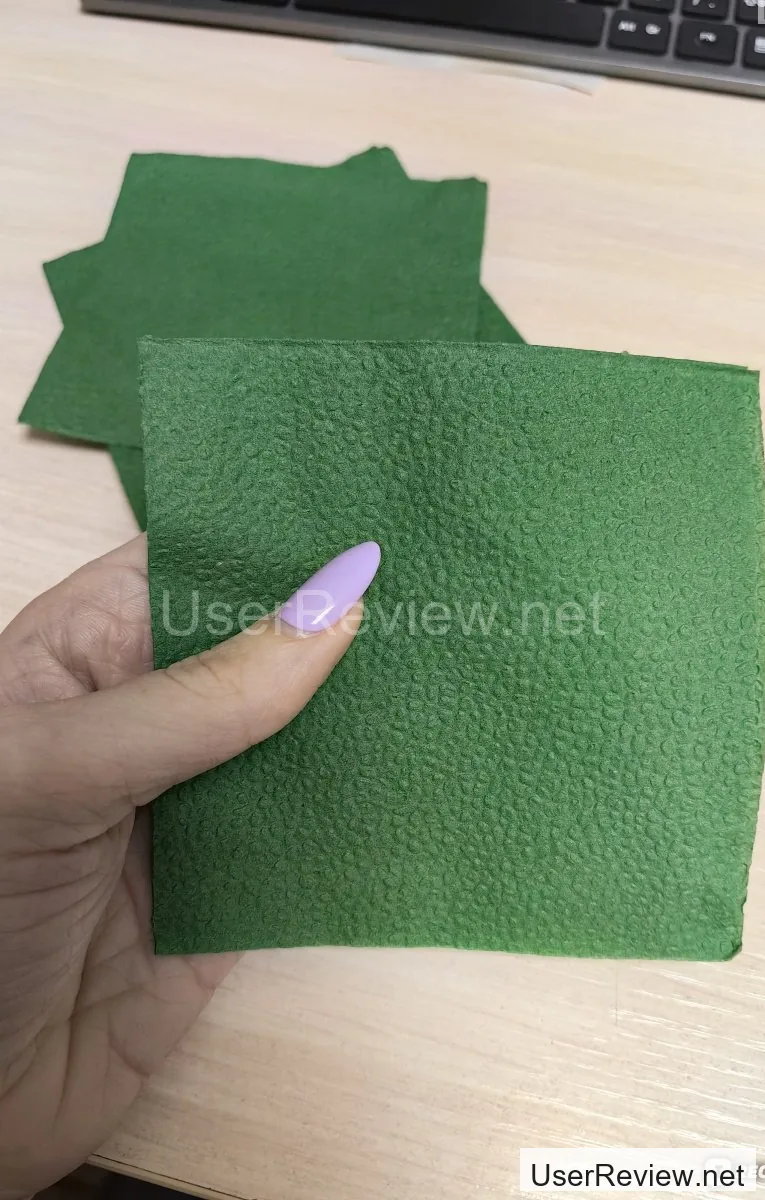
- The paper flowers are super green and plentiful, which was exactly what I needed for my mini Christmas tree.
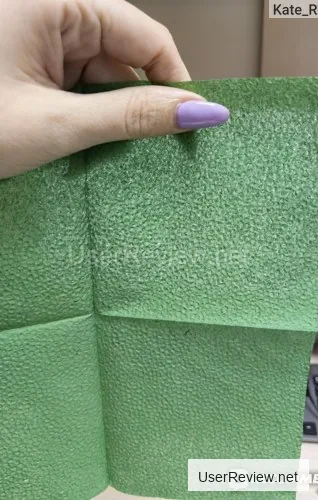
- The single-layer density is just right for creating a delicate, lacy look.
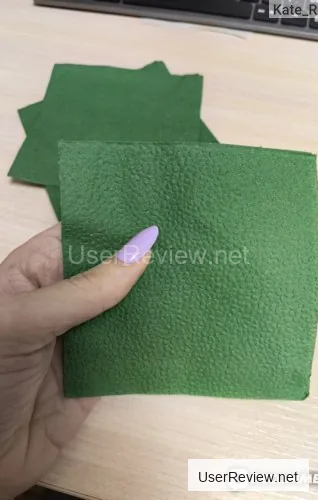
- The 24x24 size is perfect for a small tree like mine, and the green color is spot on.
- I love that the manufacturer is based in Russia - it's always great to support local businesses.
- The cost of around 280 rubles was worth every penny for the quality and quantity I got.
- The delivery was super quick, which was a lifesaver since I was on a tight deadline.
remove_circle السلبيات
- I wish the paper flowers were a bit more durable - some of them got bent or torn when I was handling them.
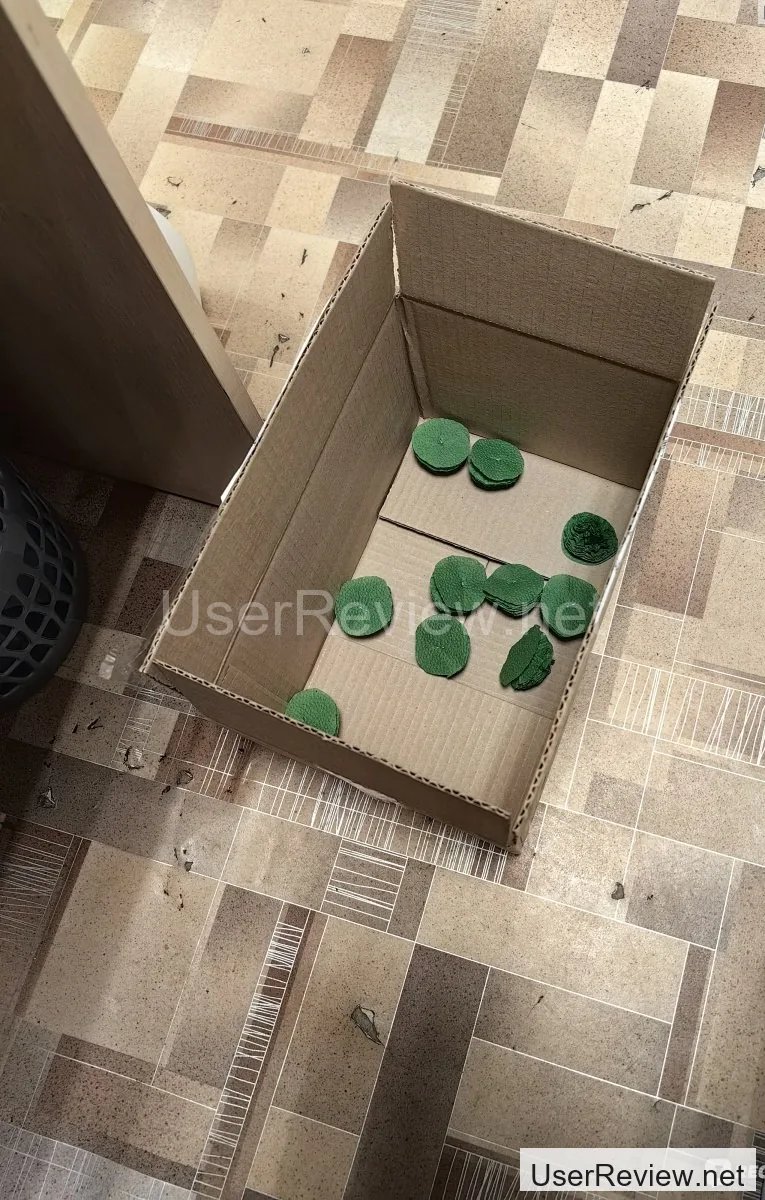
- The packaging could be a bit better - some of the flowers were tangled or crushed when I opened the box.
- I had to do a bit of extra work to get the flowers to stick together properly, but that's not a huge con.
- The manufacturer could include some more detailed instructions on how to use the flowers, but I figured it out eventually.
- Some of the flowers had a bit of a weird smell to them, but it wasn't overpowering or anything.
المعرض


Editor's Summary
I gotta say, these Wildberries paper flowers were a total game changer for my mini Christmas tree. The green color and plentiful quantity were spot on, and the single-layer density gave my tree a delicate, lacy look. The 24x24 size was perfect for a small tree like mine, and the cost of around 280 rubles was worth every penny. But, there were a few things that could've been improved - the paper flowers could've been a bit more durable, and the packaging could've been better.
Specifications
Hello everyone, and thanks for checking out my review!
New Year's is my absolute favorite holiday - there's just something magical about it.
This year was a bit of a rollercoaster for me, though. I got laid off from my old job just as I was wrapping things up, but luck was on my side and I landed a new gig with way better pay and conditions.
For the first time in ages, I felt like getting creative with my hands, and our director gave us the green light to decorate the office however we wanted. I had an idea pop into my head almost instantly - make a mini Christmas tree out of paper flower decorations.
I chose the paper flowers based on the criteria of being green, plentiful, and delivered quickly, so I ordered the ones that fit the bill from Wildberries.
Product Details:
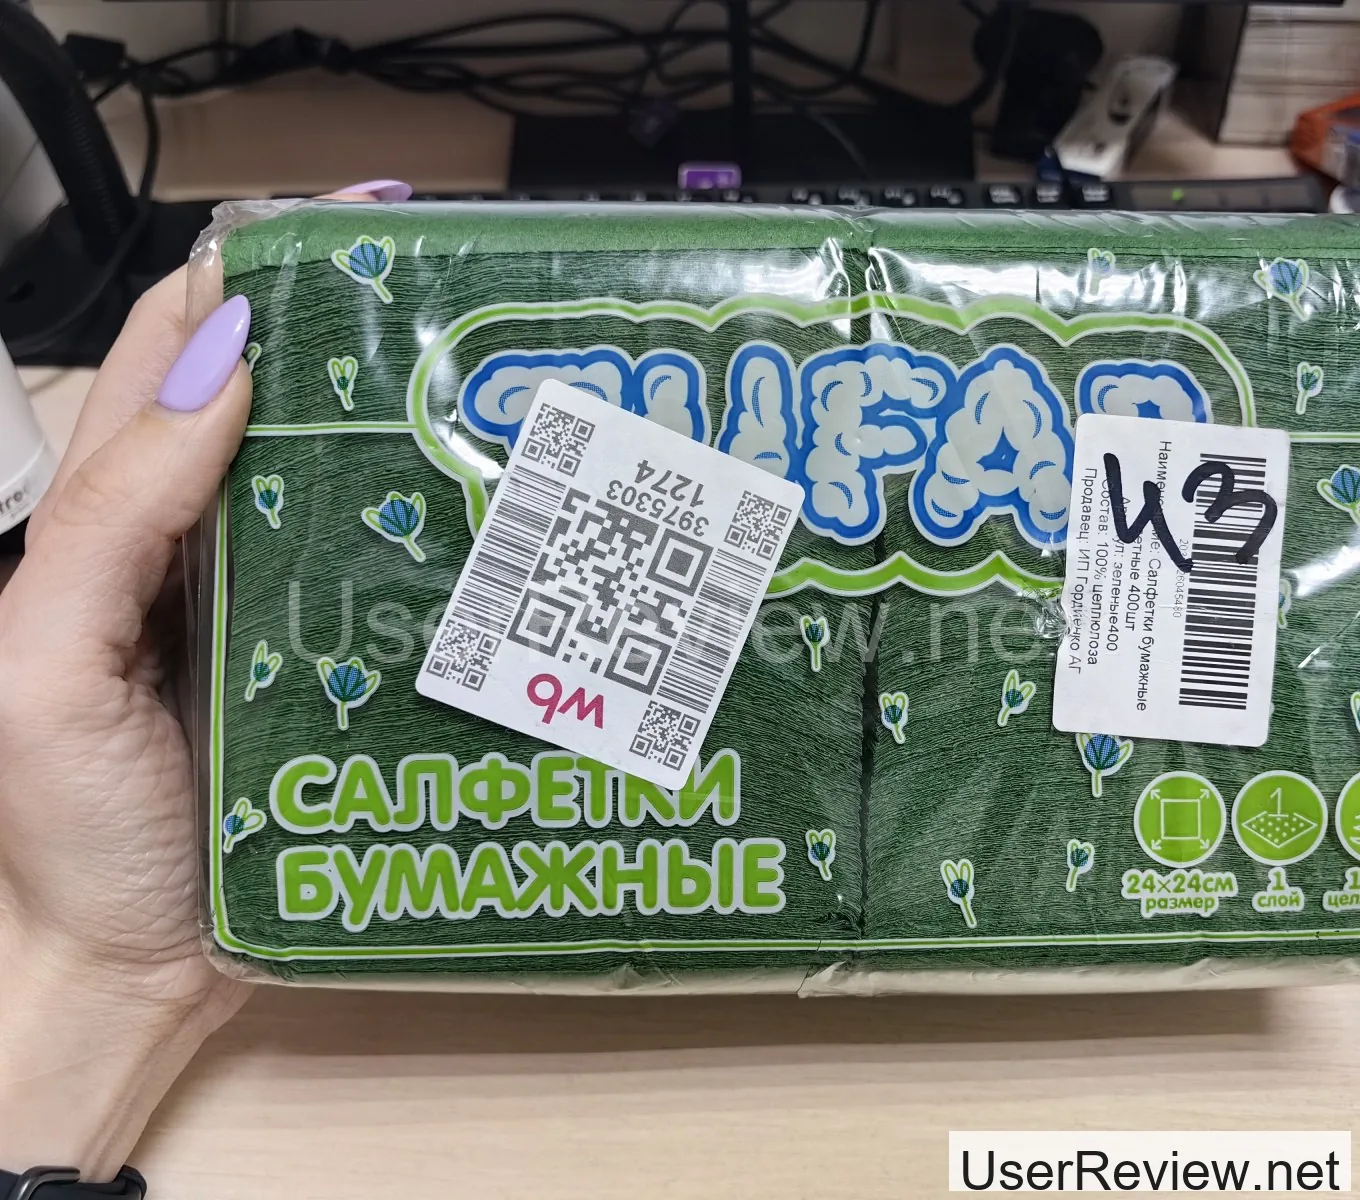
Name - TuFab Paper Flowers
Where I bought it - Wildberries
Quantity - 400 pieces
Cost - Around 280 rubles
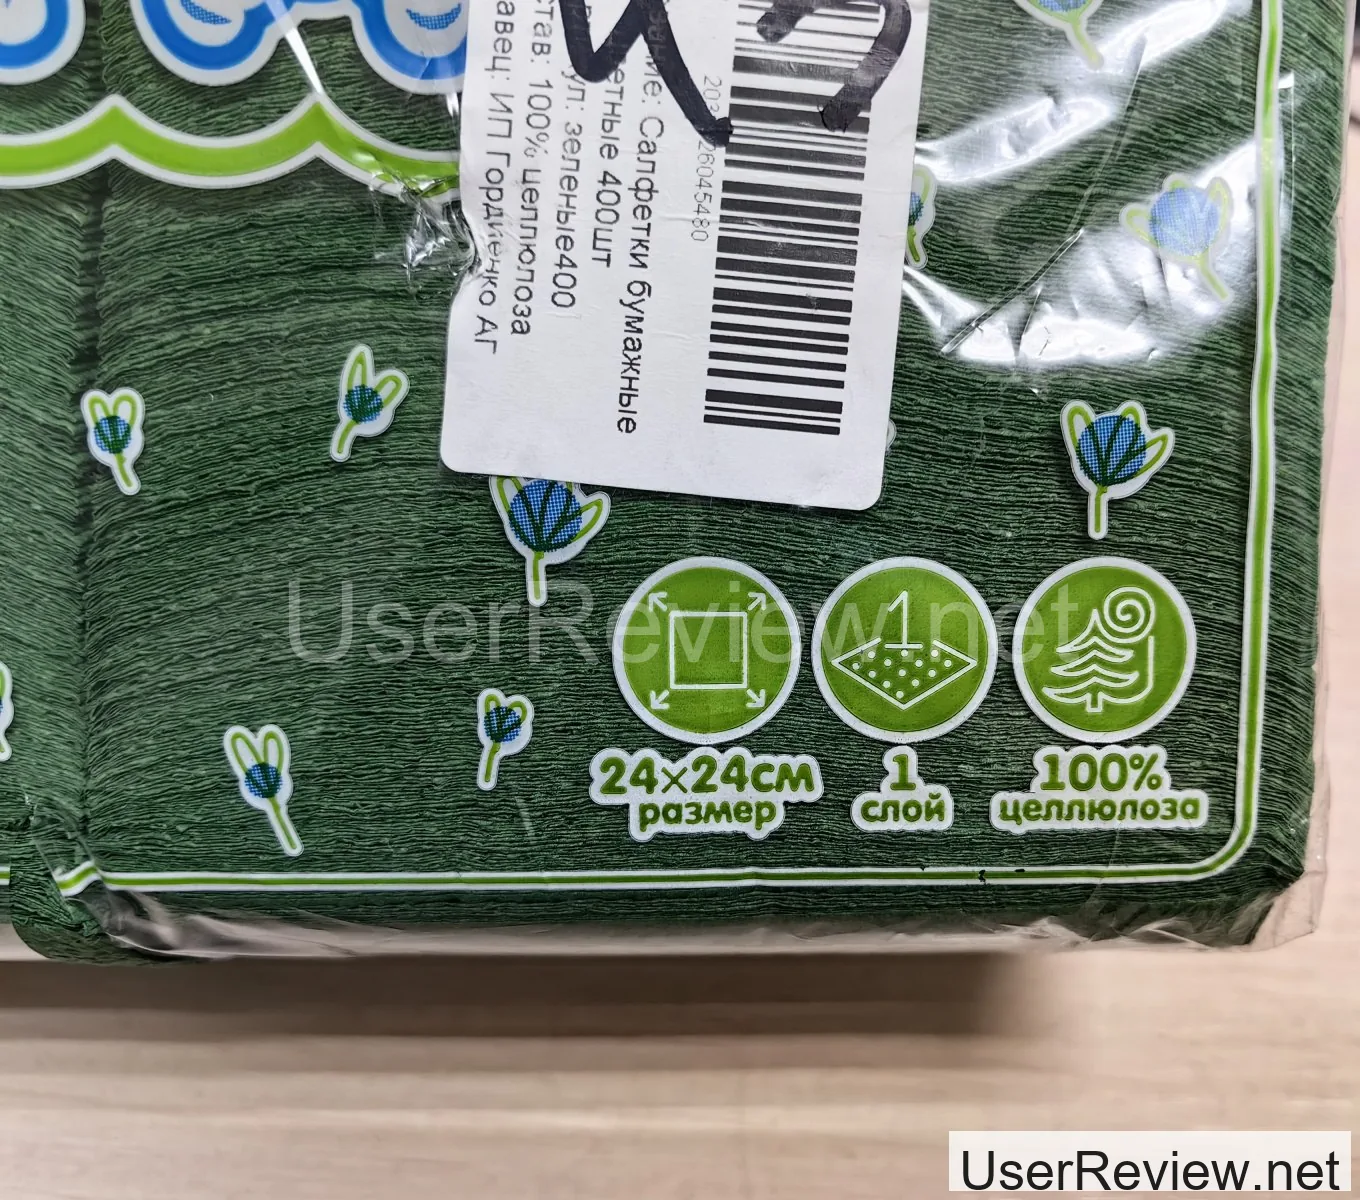
Density - Single-layer
Size - 24x24
Color - Green
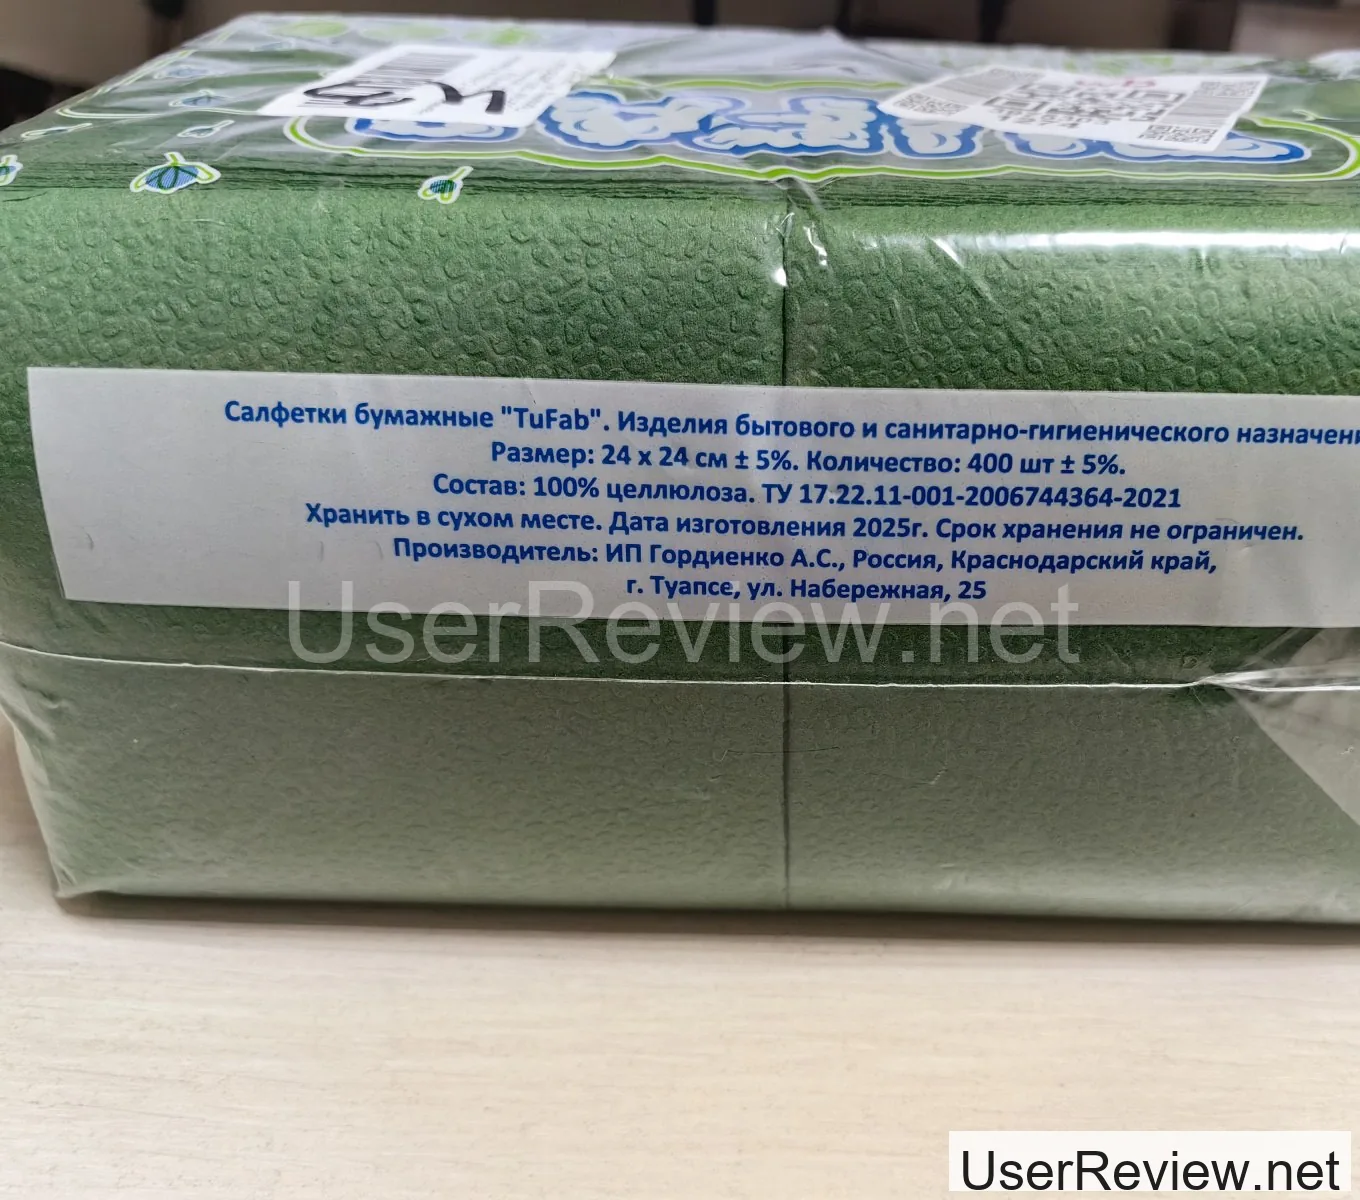
Manufacturer - Russia
Packaging
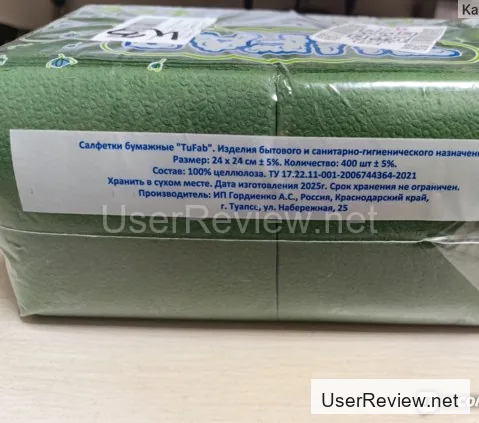
They arrived in their standard factory packaging, with Wildberries just slapping their stickers on top.On the front, you've got the name, brand, size, quantity, and composition.
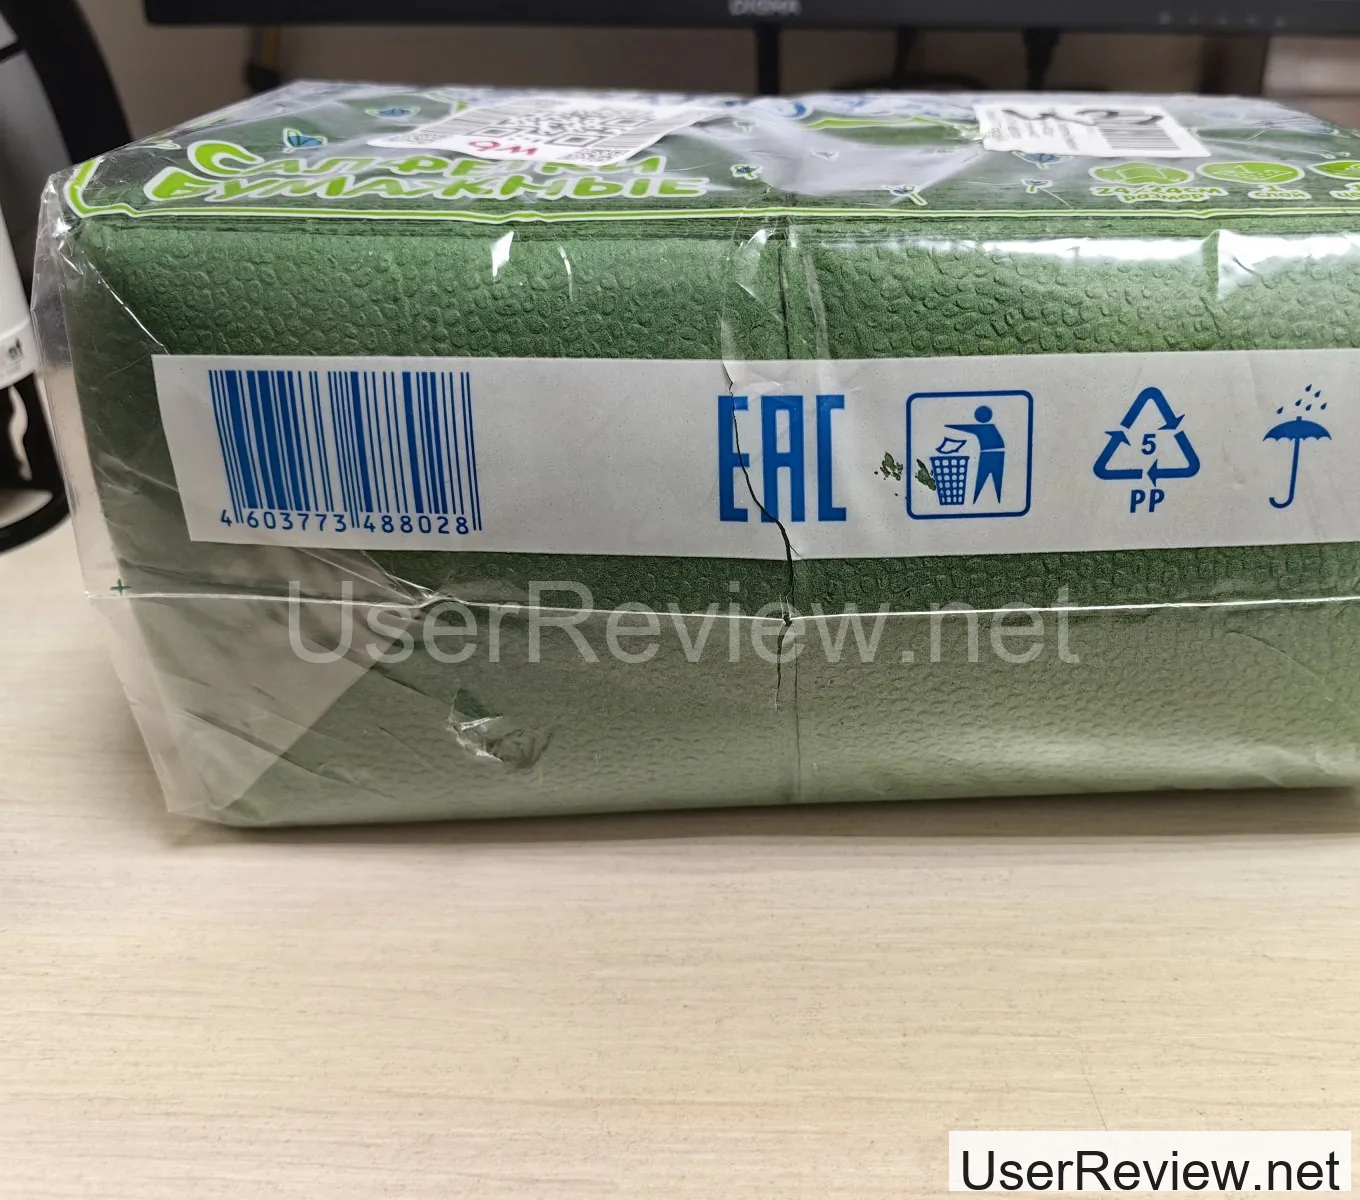
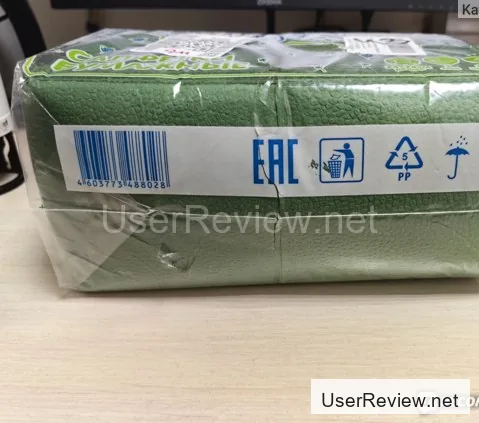
Even the sides have some info on them.My ExperienceThe paper flowers themselves are pretty thin, but I wasn't planning on using them for their intended purpose. After finishing the decoration, I ended up with a bunch left over, so I took them to the office kitchen.
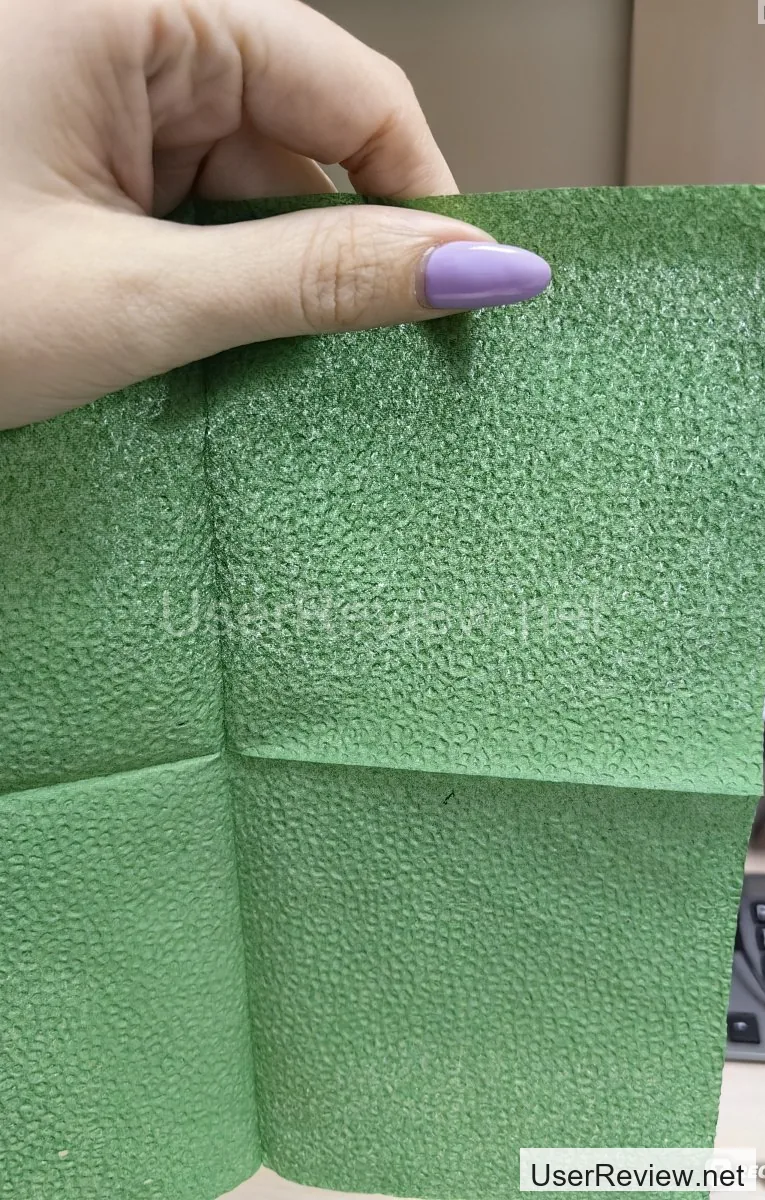
I've gotta say, these paper towels are pretty decent for their intended use. They soak up okay, and I've used them to wipe down tables after meals or clean up crumbs on the counter. They don't fall apart or tear easily, which is a major plus. They're just your run-of-the-mill paper towels - nothing special, but they get the job done.New Year's DecorI've seen people make those big cardboard numbers and cover them in paper flowers for kid photo shoots, and I thought, why not do the same thing with a Christmas tree stencil?
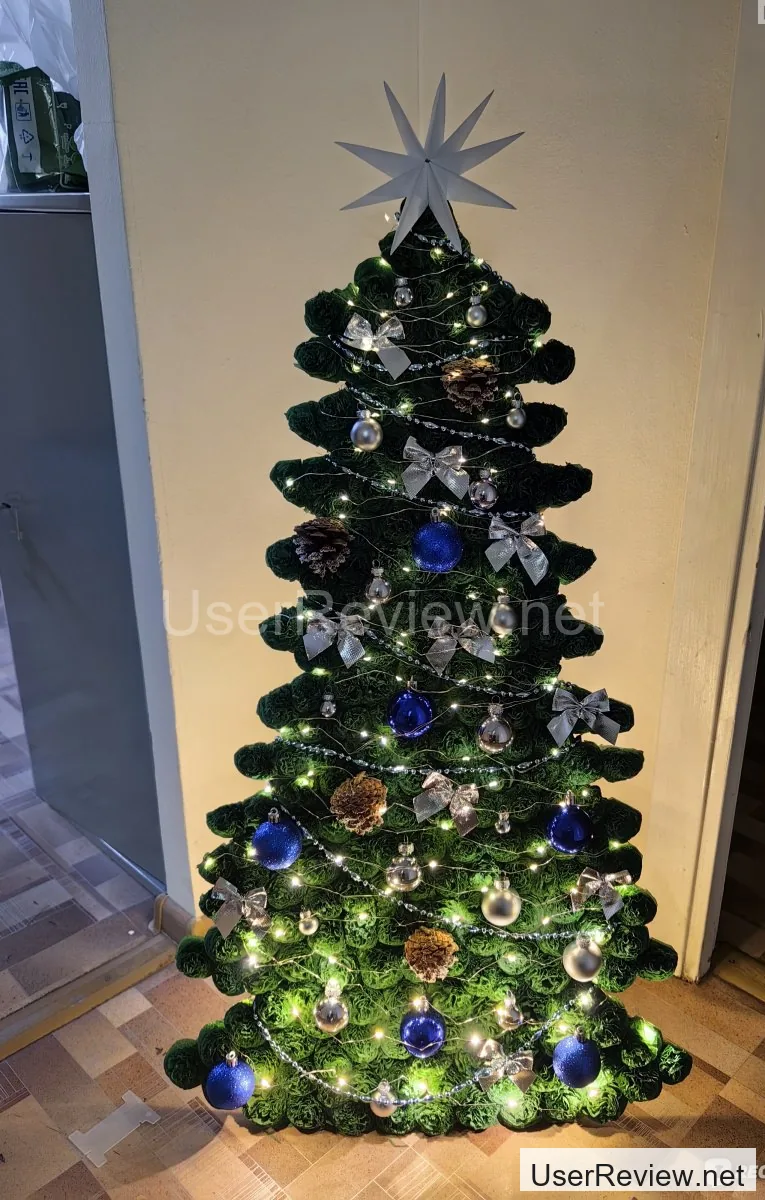
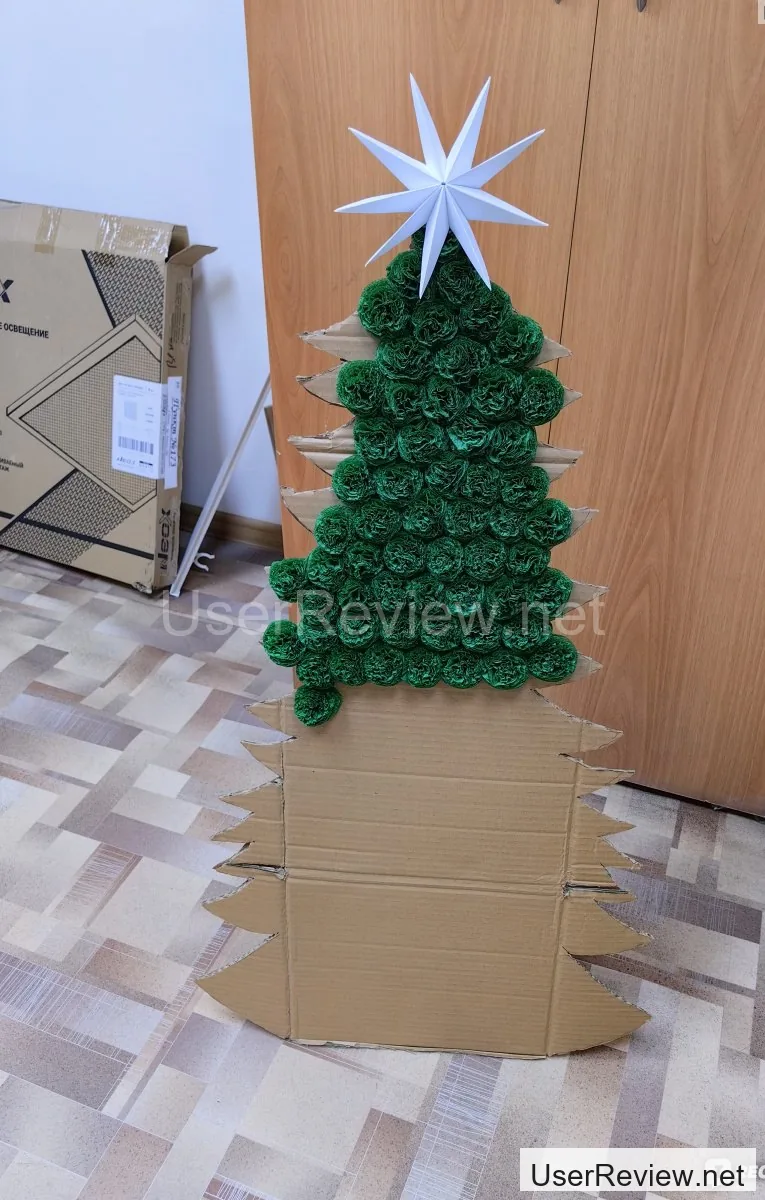
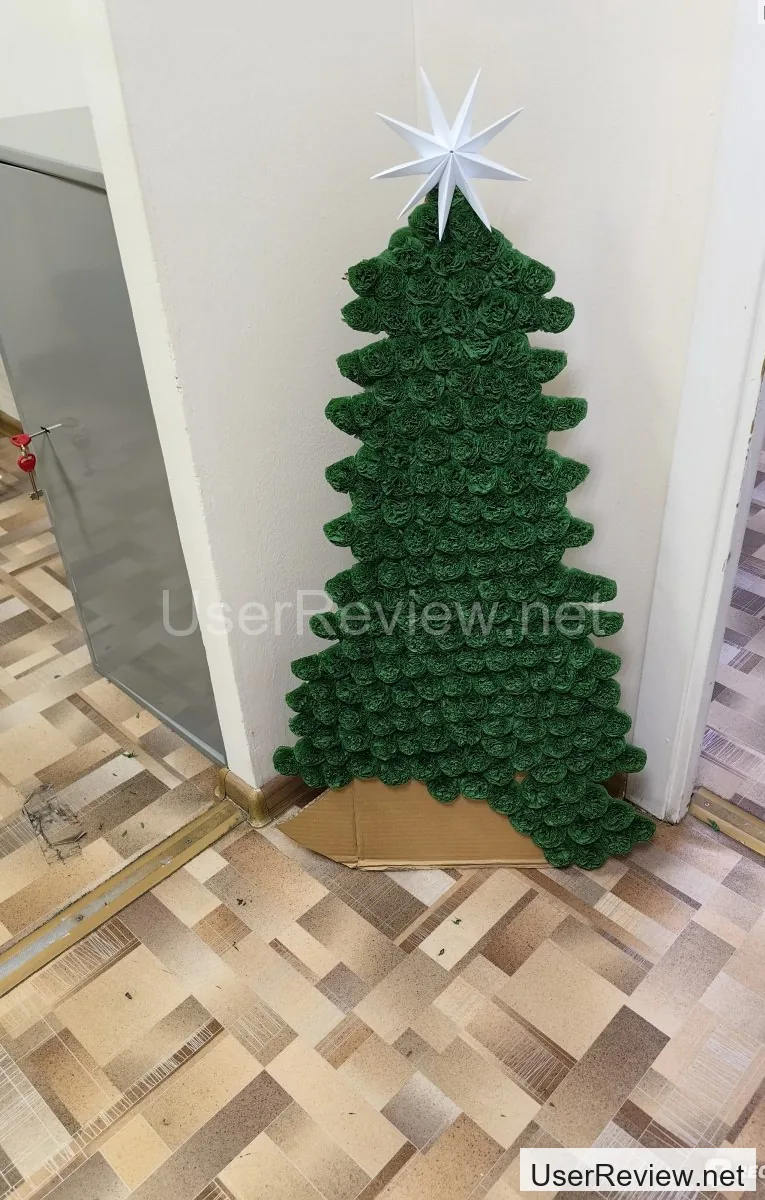
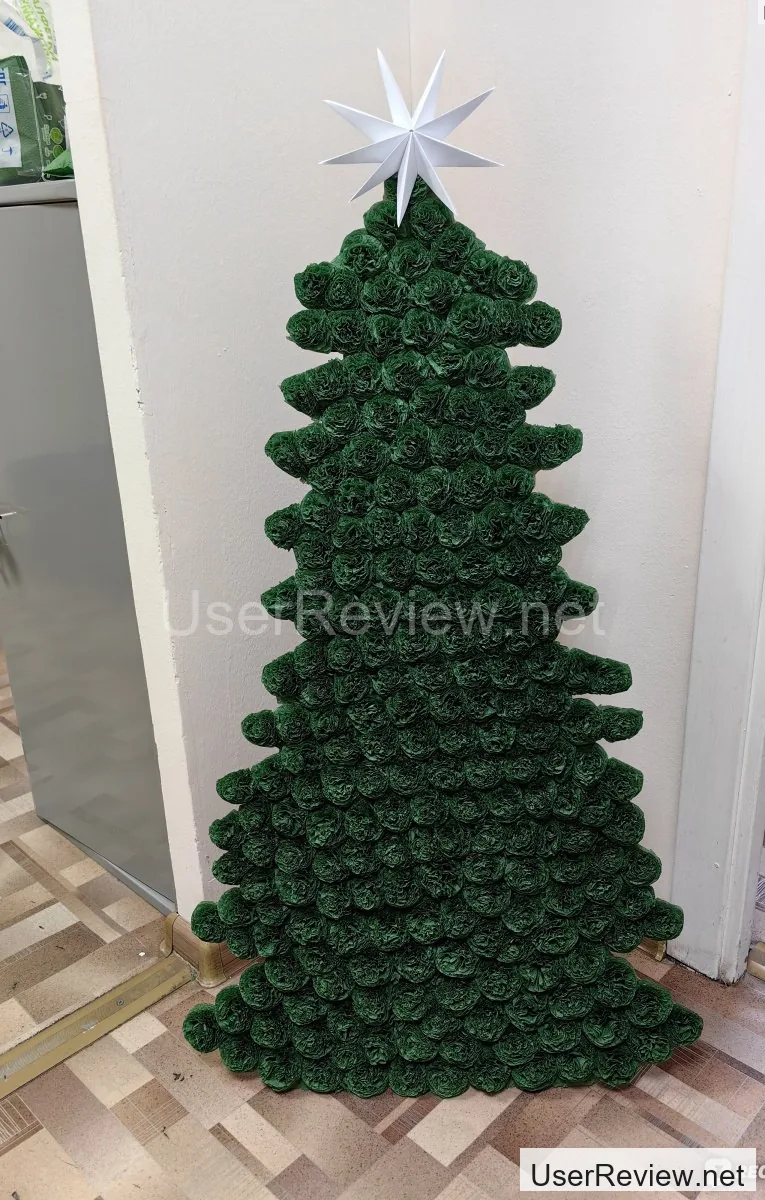
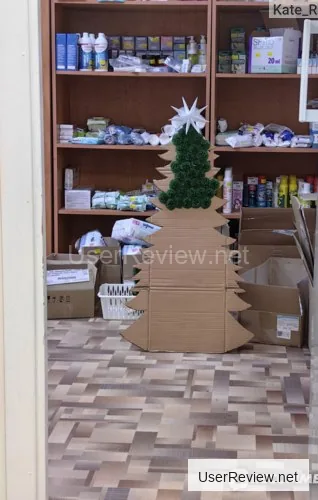
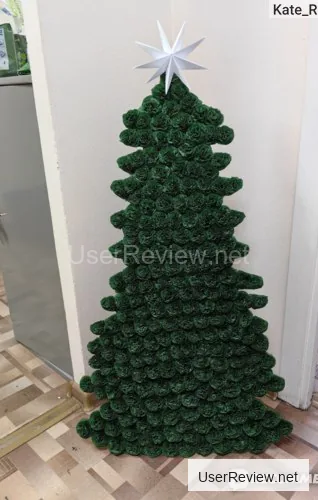
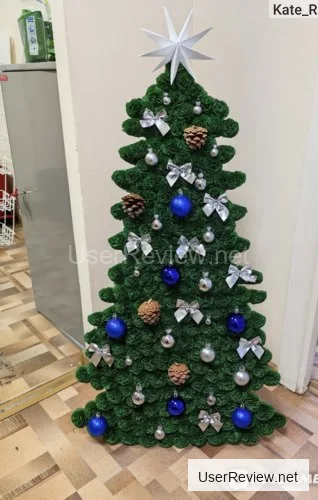
No need to drag it out, let's just show the finished product.
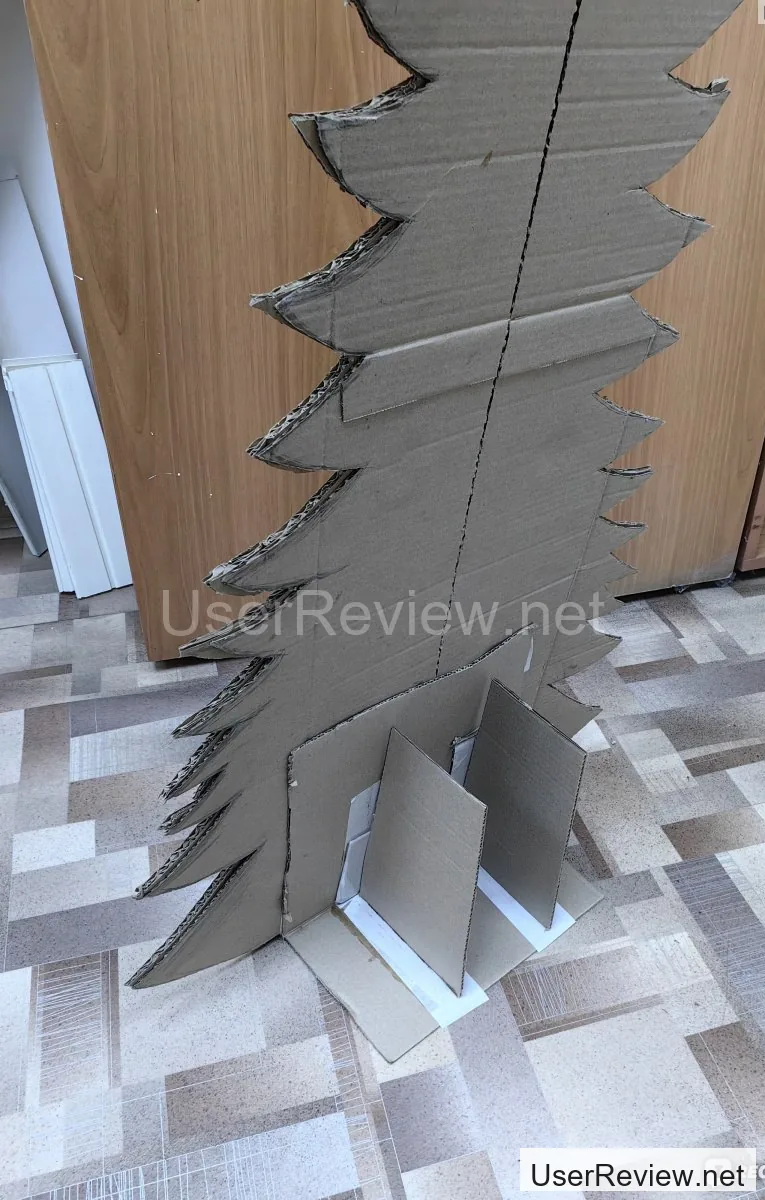
Now, let me walk you through how I made it and how much time it took.Here's what you'll need:
CardboardPencil or penScissorsUtility knifeStapler and staplesScotch tapeDual-sided scotch tapeGlueGlue gun and sticksPaper towelsDecorations (balls, pom-poms, beads, garland, etc.)I work at a pharmacy, so I had half of the necessary materials on hand, so I didn't have to buy anything or bring it from home.
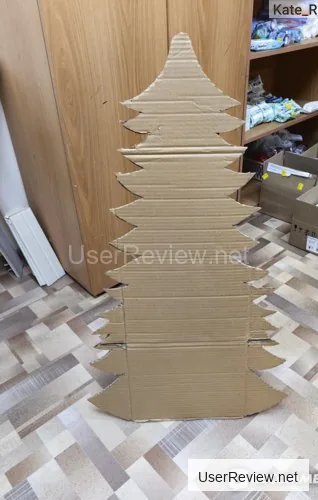
First, I drew half of the Christmas tree, cut it out, and then drew and cut out the second half. After that, I drew the full tree and glued the halves together to make the frame sturdier. I used some leftover super glue I had at home, and then I put the frame under a press to make sure it was securely glued.
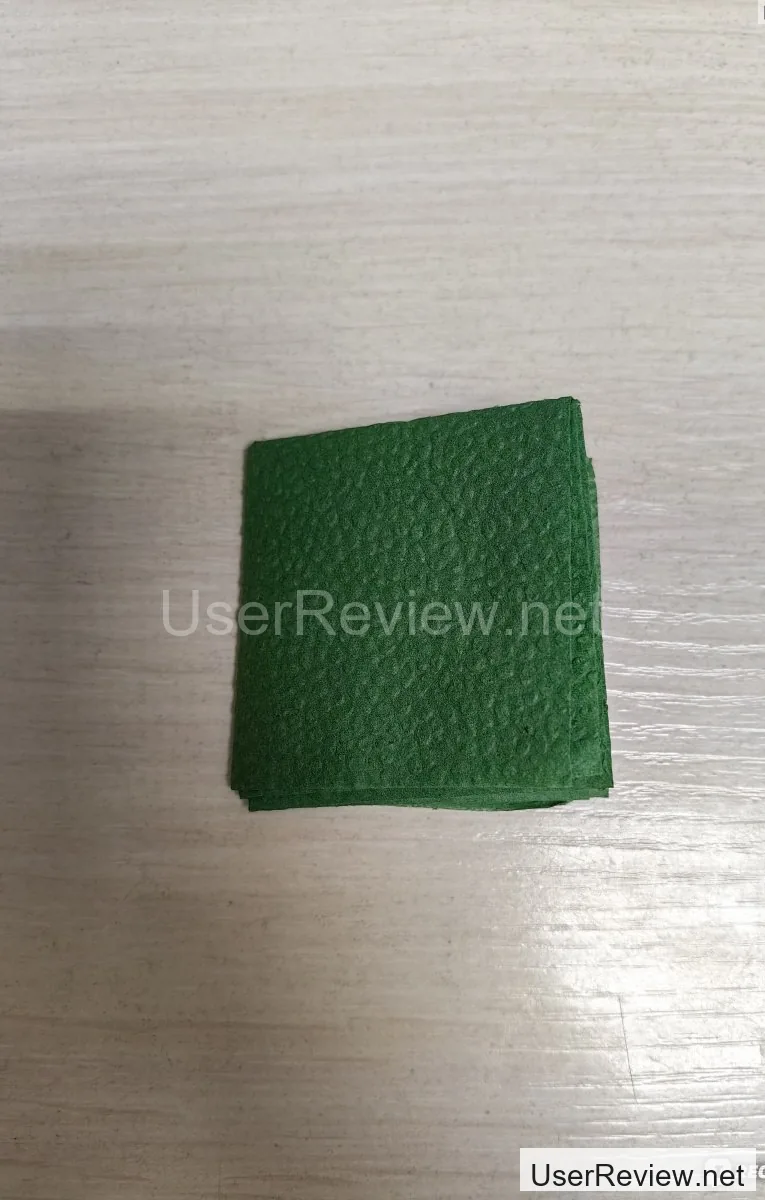
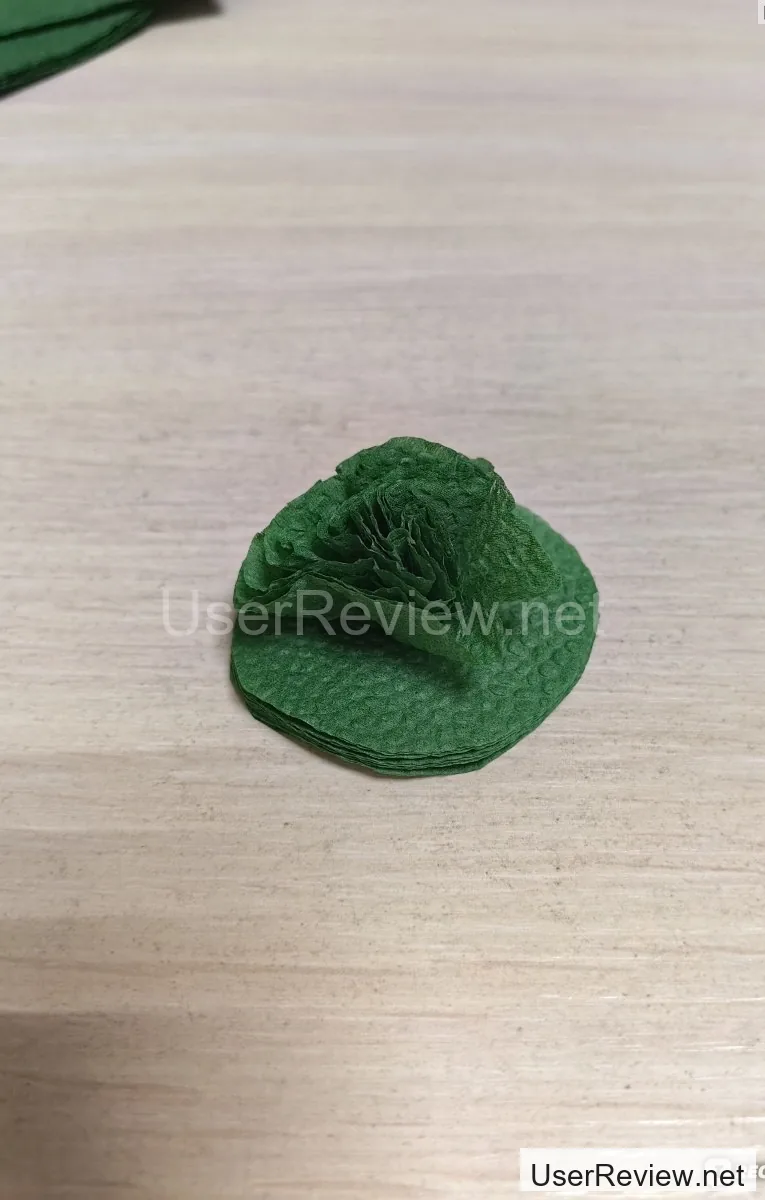
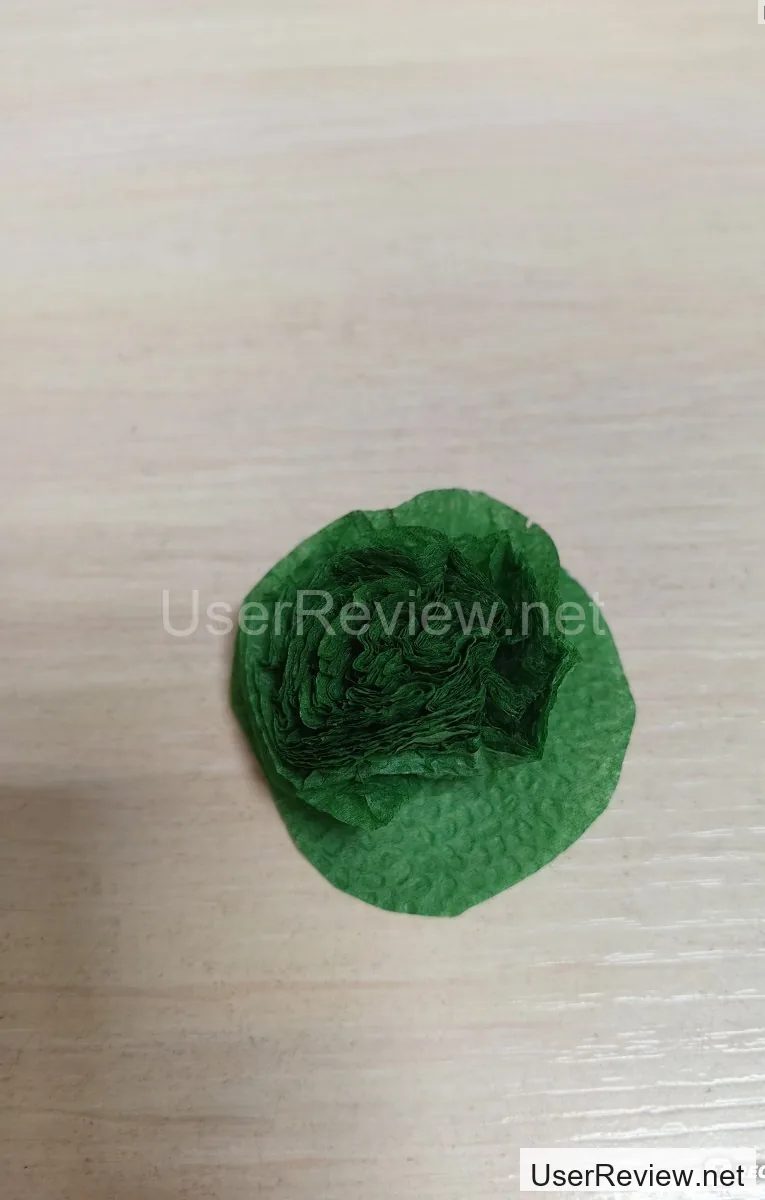
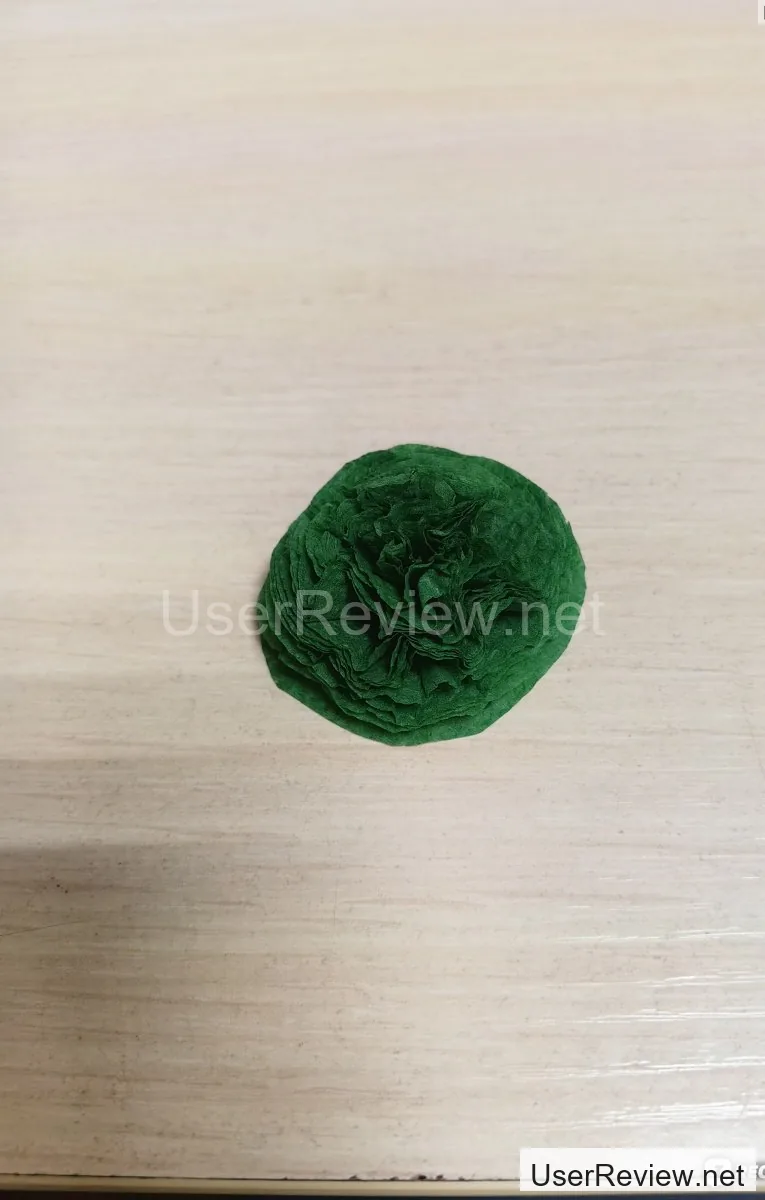
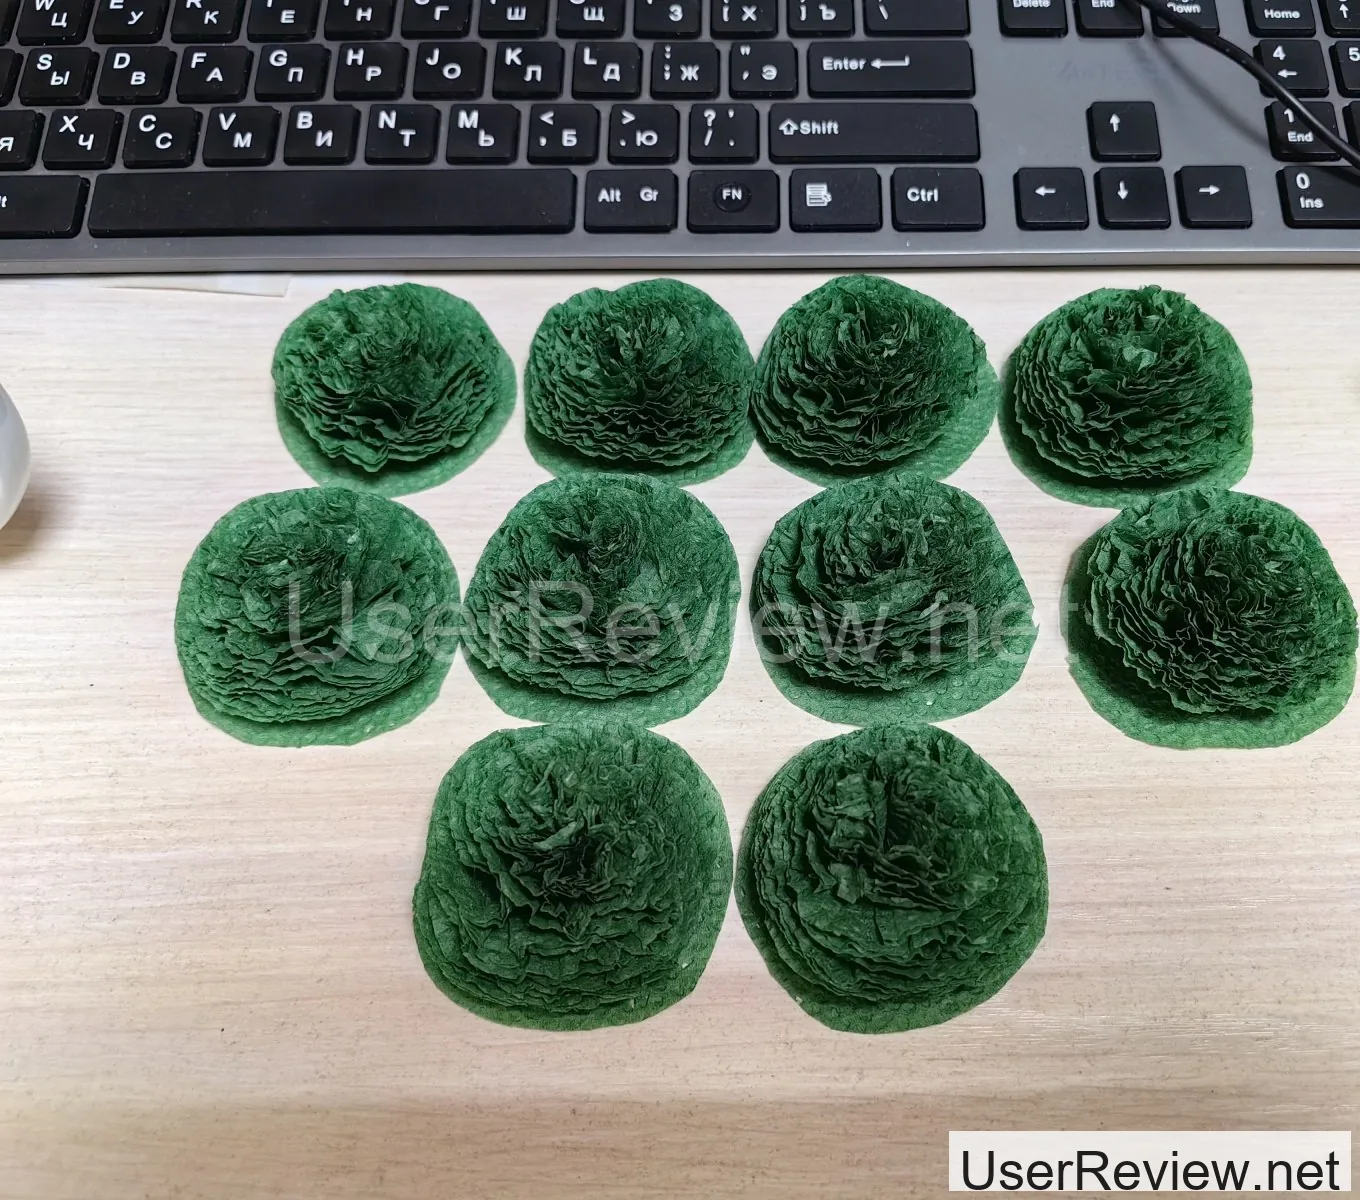
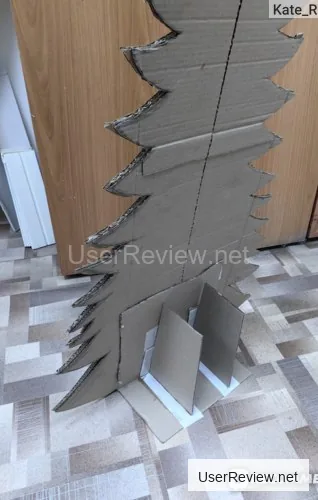
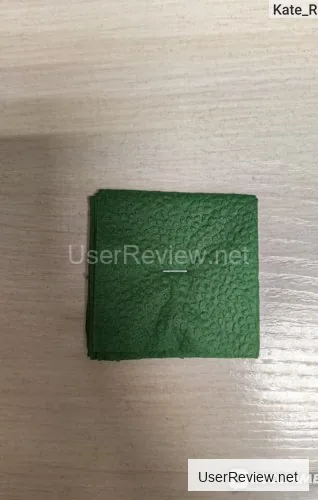
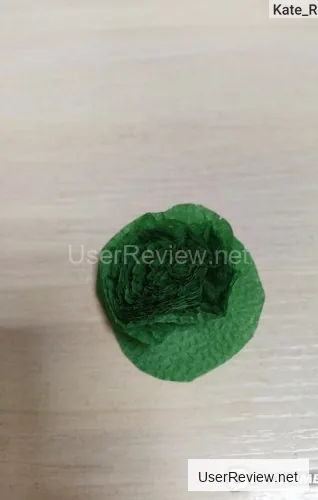
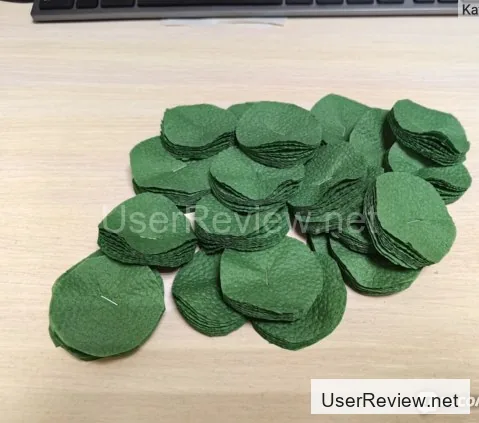
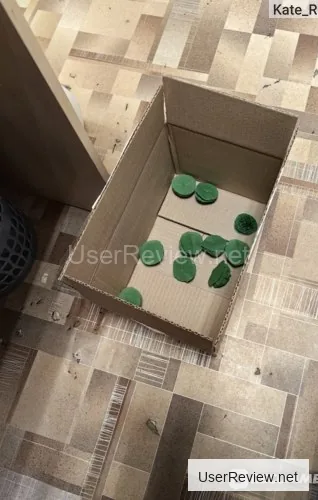
Next, I used cardboard and double-sided scotch tape to create a base. The frame is ready, now it's time to make the flowers out of paper towels.For this, you'll need a paper towel - just one will do. I used the same paper towels I was reviewing earlier, and they worked out pretty well. I just rolled them up, cut out a petal shape, and then attached them to the tree using some glue and a little bit of patience.
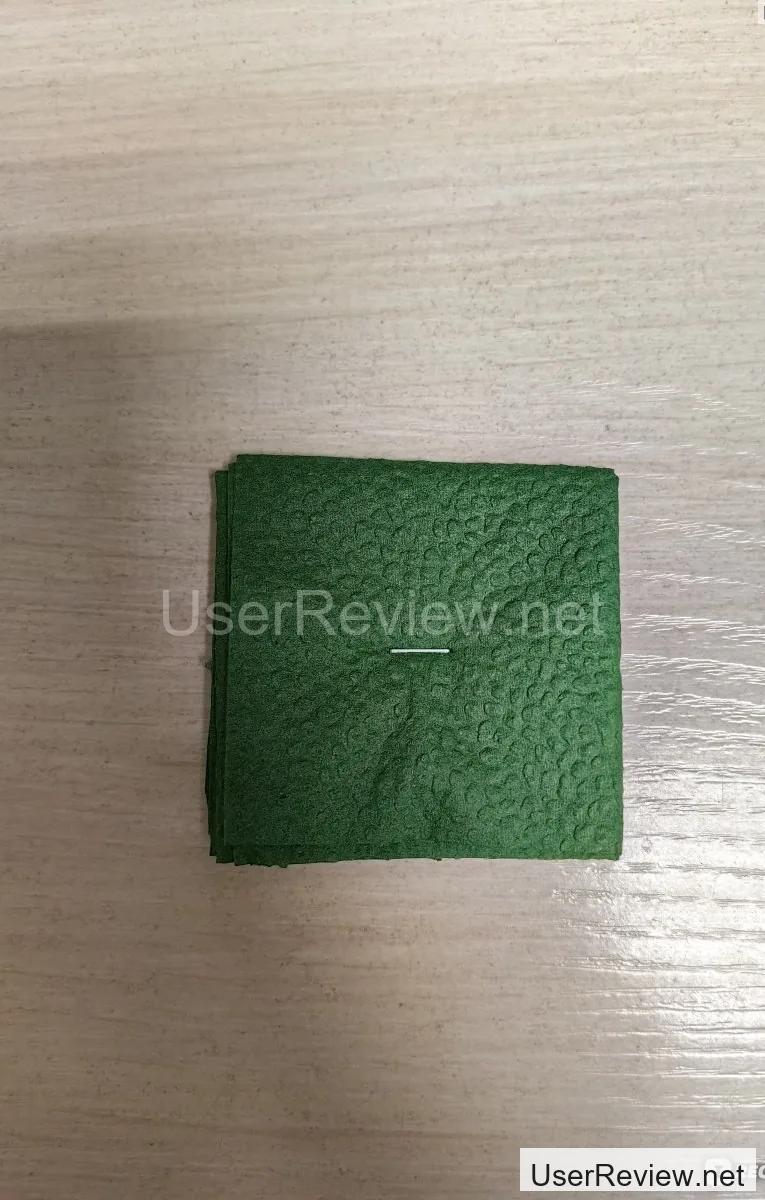
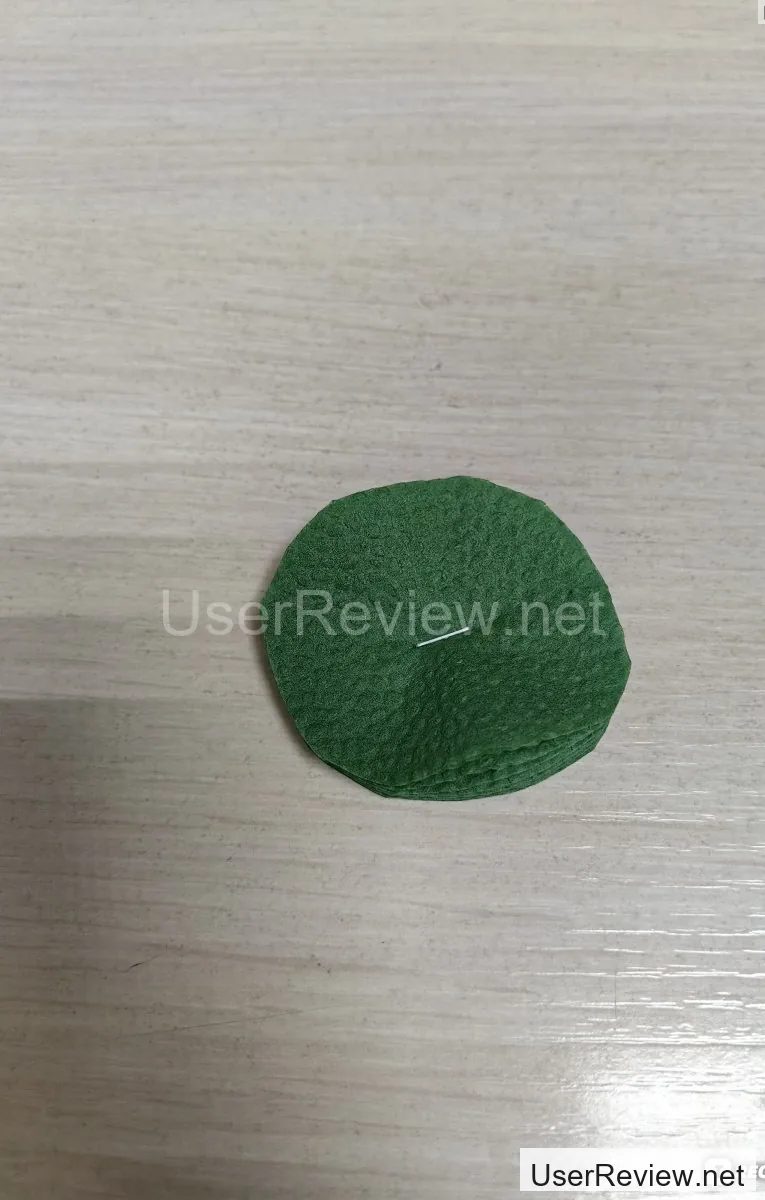
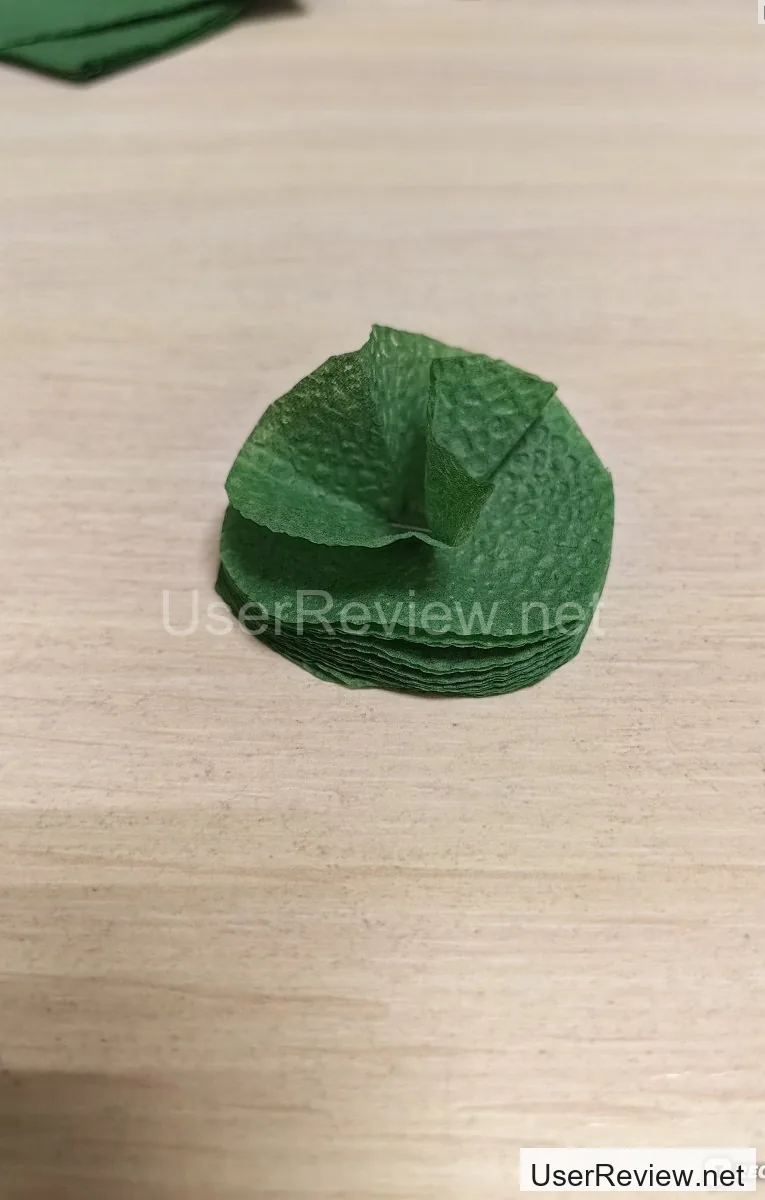
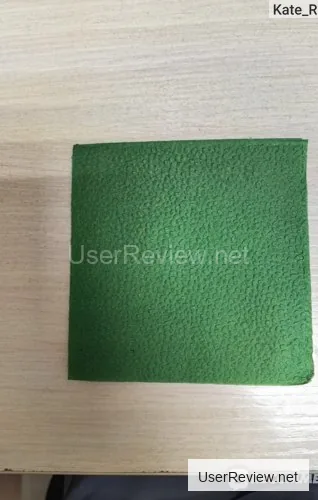
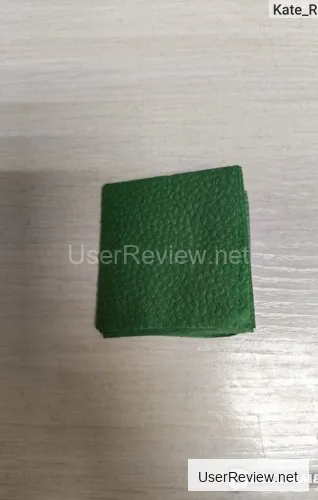
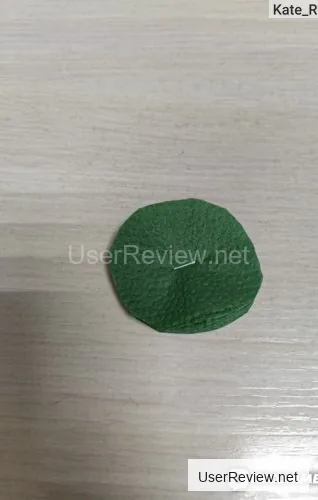
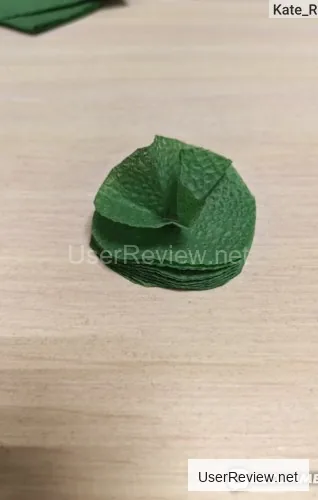
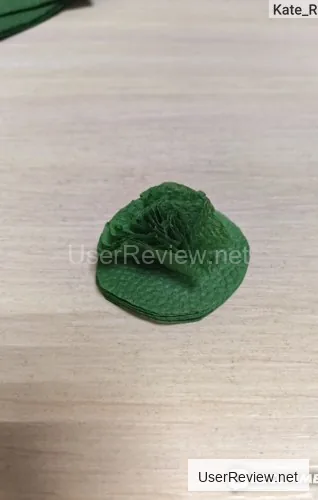
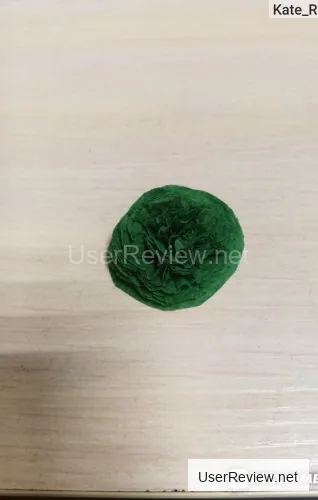
Folding it in half And folding it in half again Then, using a stapler, I attached the folded square in the middle Next, I cut out a circle from the square And then, the longest and most tedious part – unfolding each layer, which ended up being 16 (the original napkin was folded into a square with 4 layers, then folded in half to make 8 layers, and folded again to make 16 layers) – I started unfolding them in a chaotic order I left the last layer untouched, as I'd use it to attach a small flower to the tree using glue. Once I'd unfolded the 'ball' and smoothed it out, I had a flower How many of these little decorations did I end up using on my tree, which is roughly a meter tall? 220
Yes, I counted.
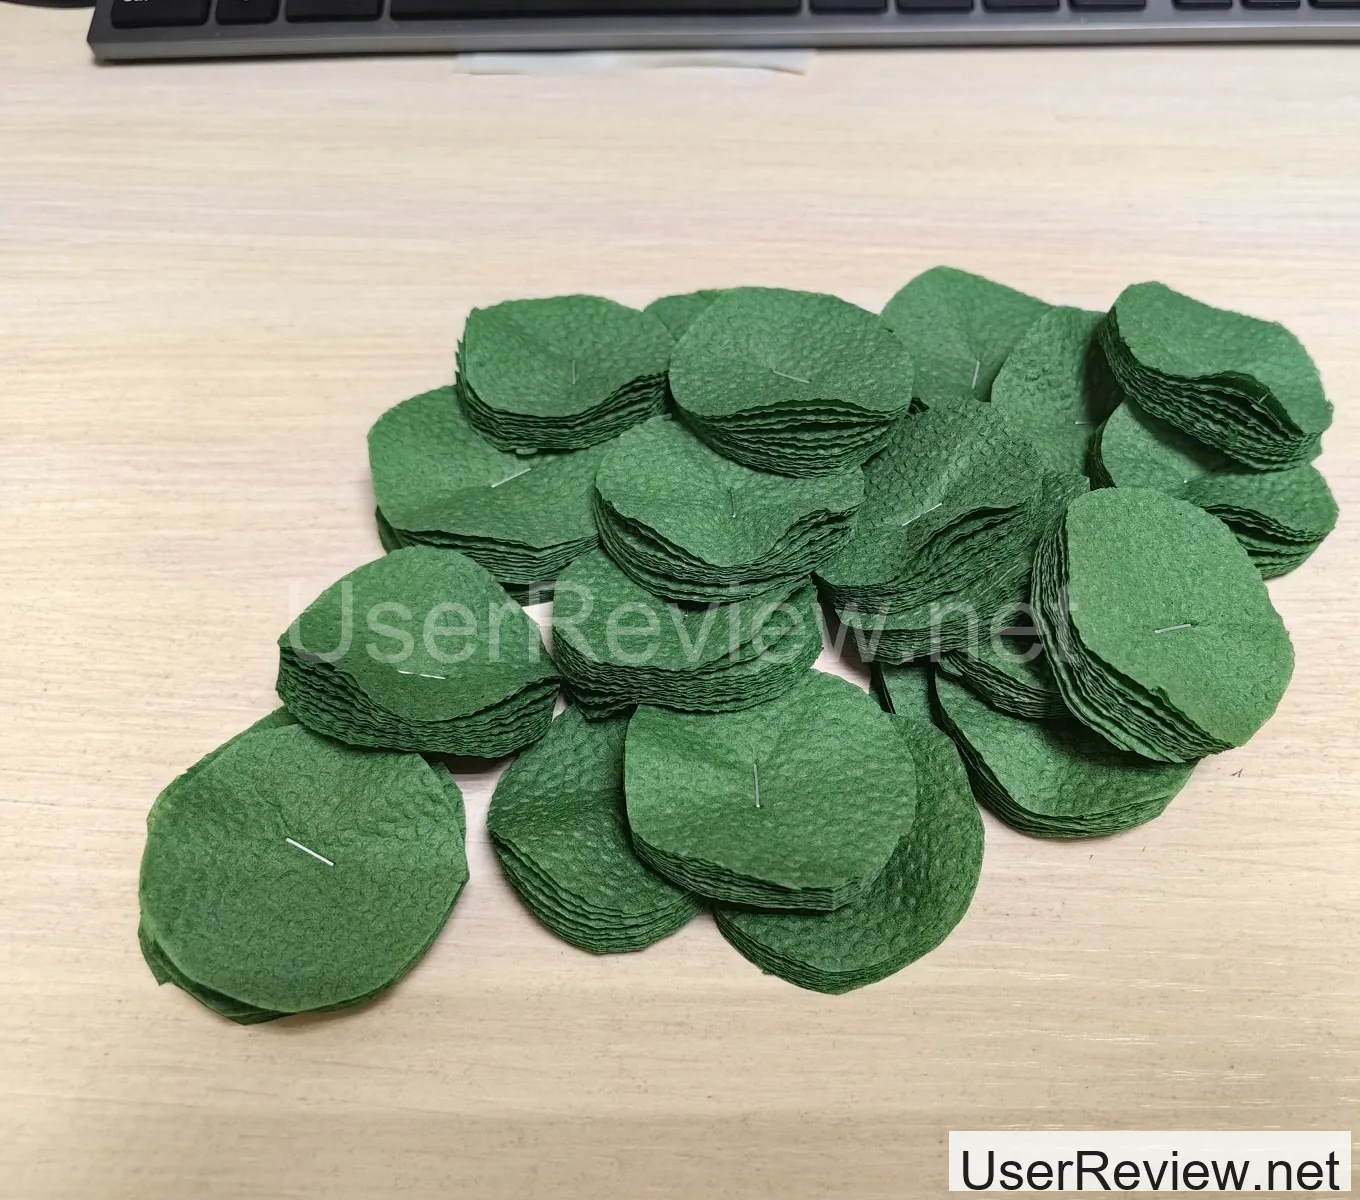
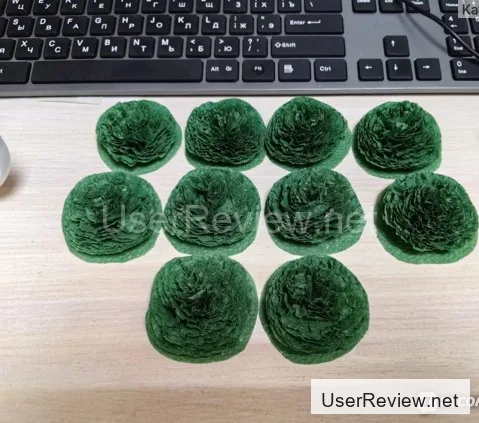
I made 80 on the first day, 110 on the second, and finished the remaining 30 on the third.
Honestly, it could've been faster, but my job involves not just making things, but also receiving and servicing customers. I used a hot glue gun to attach the pre-made flowers to the frame - it dries quickly and doesn't give off that harsh chemical smell like some other adhesives do. Plus, I didn't have to inhale too much fumes when assembling the frame itself.
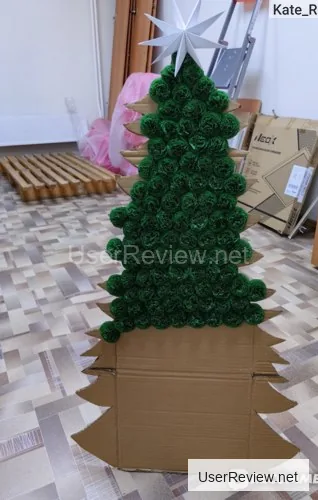
Some process photos
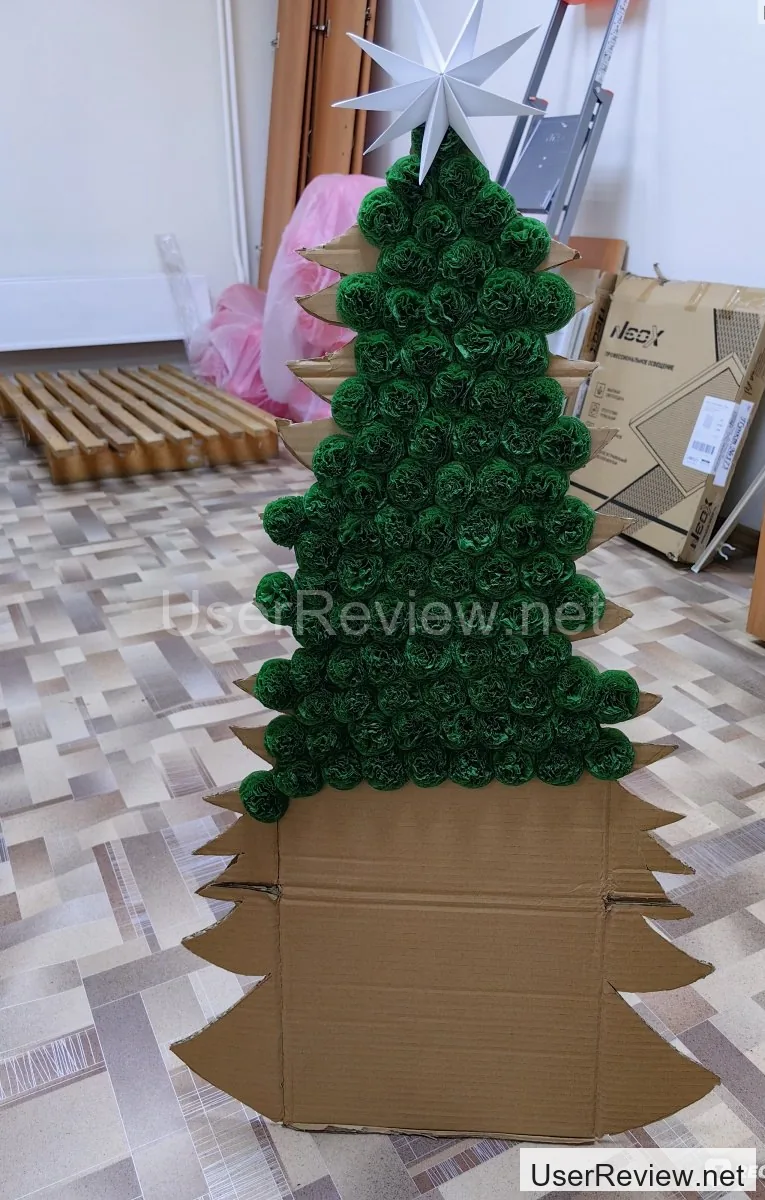
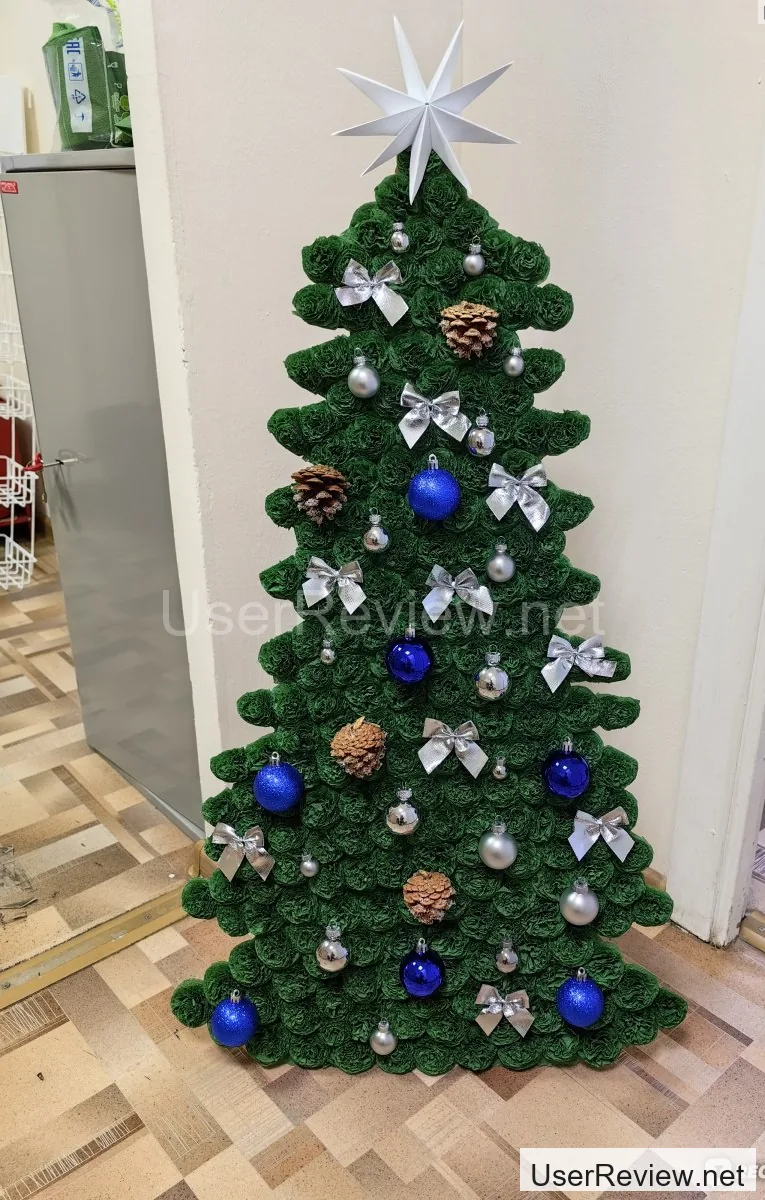
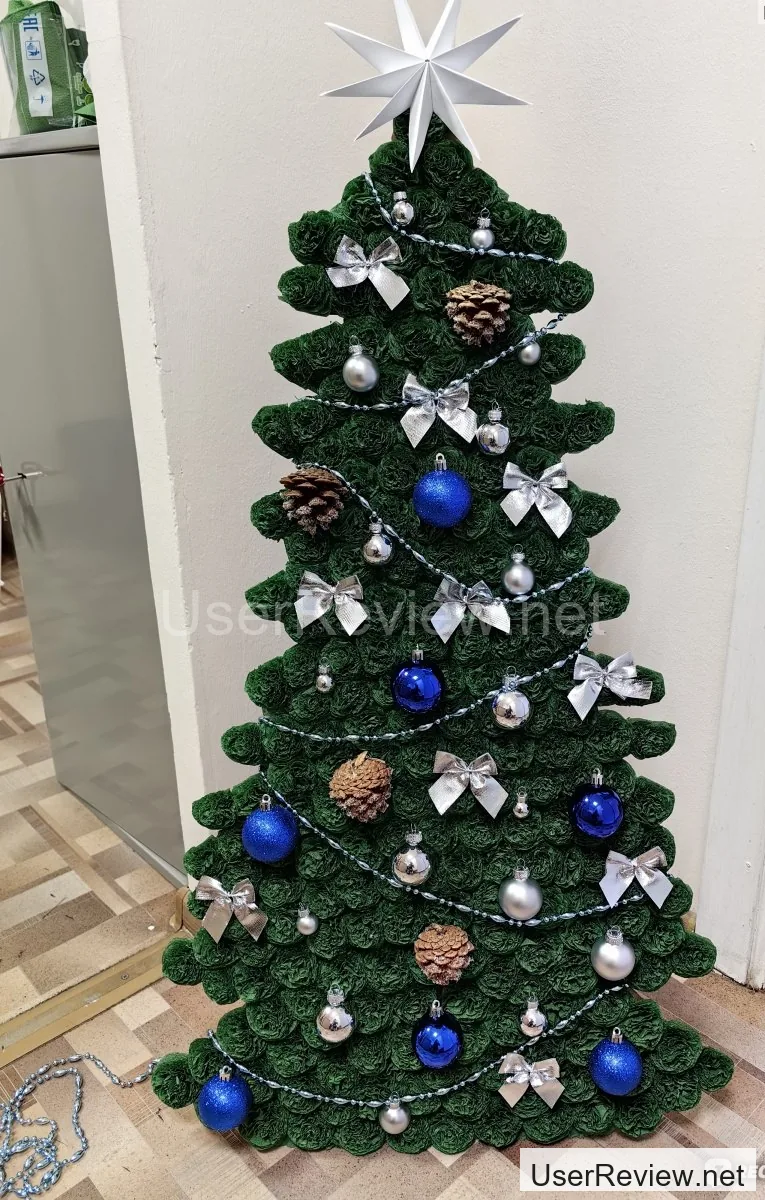
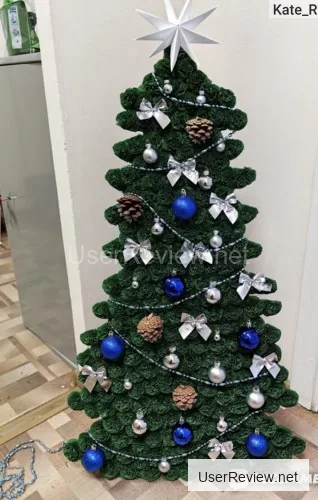
Once the tree was complete, I carefully trimmed the edges of the felt to give it a more polished look. Then it was time for decorations - I picked up all the ornaments at Fix Price and attached them using the hot glue gun. I only attached the garland-bells and garland-rope to the top of the tree, on the back side. And voila - I ended up with this beauty. The tree looks amazing - it's so fluffy and soft to the touch. I probably used around 400 felt sheets in the end, since I started with one stack and finished with the leftovers from the second stack, so I'm guessing there were indeed around 400 sheets in the pack.
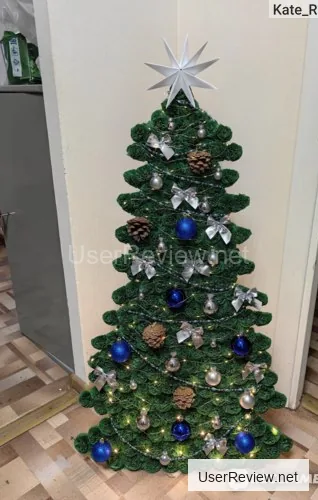
I've noticed my kiddos and their friends are totally obsessed with this thing in my pharmacy, especially around the holidays. I've lost count of how many times I've heard, 'Mom, Mom, check out the Christmas tree - and the ornaments are so realistic!' I've got to admit, I'm a fan of the result too - it feels like the holiday season is just around the corner.
It took me three sittings to finish, and I'm not regretting it one bit. The process might be a bit long and tedious, but honestly, it's been kind of meditative and calming for me.